
But! There’s no option for validating your email list directly using Mailchimp.
In other words, checking if the emails in your list are not outdated, fake, have typos or represent spam traps.
Today, you’ll learn how to make Mailchimp email verification complete with an external tool and why it is worth doing it that way. 🤫
TL;DR
- Mailchimp verifies your domain, but it does not verify your email list, so typos, fake emails, and spam traps still stay in your audience.
- To keep deliverability high, you need to clean your list separately using a proper verification tool.
- Bouncer integrates with Mailchimp and removes undeliverable or risky emails in a few clicks, giving you a cleaner list and safer campaigns.
What is Mailchimp email verification?
Mailchimp does basic checks only when someone joins your list or when you import contacts.
Mailchimp can:
- Detect obvious syntax errors (missing
@, broken domains) - Flag some role-based emails (like info@ or sales@)
- Block addresses that previously hard-bounced inside Mailchimp
That’s it.
Yet, the tool does not:
- Check if an inbox actually exists
- Detect spam traps reliably
- Identify disposable or temporary emails
- Clean an existing list in bulk with high accuracy
- Protect your sender reputation before campaigns go out
So no, Mailchimp does not offer true email verification.
What Mailchimp calls “verification” vs real verification
Mailchimp’s approach is reactive. It waits for problems to happen (bounces, complaints), then reacts.
Real email verification tools are proactive. They test emails before you send anything.
That difference matters a lot for deliverability.

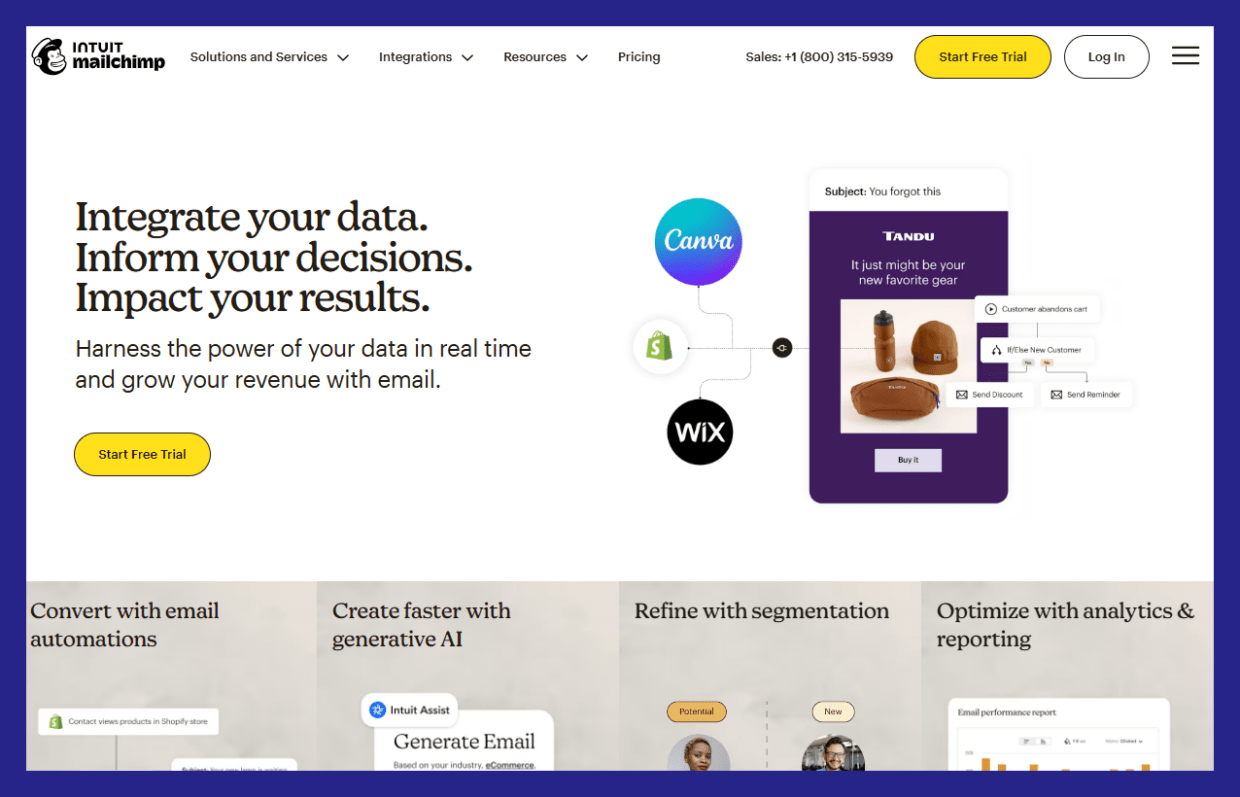
How does Mailchimp work for email marketing?
Still, Mailchimp positions itself as a full email marketing and automation platform, focused on helping businesses create, personalize, automate, and optimize email campaigns at scale.
Here’s what that actually means in practice.
Create and send email campaigns
Mailchimp lets you build and send marketing emails using:
- A visual email builder
- 130+ pre-built email templates
- Custom-coded templates for more advanced teams
You can create newsletters, promotional emails, sales emails, and product updates without needing to code.
Personalize emails using data and behavior
Mailchimp supports personalized email content, including:
- Dynamic content based on user data
- Personalized subject lines and copy
- Product recommendations based on past interactions
Personalization is tied to audience data, purchase behavior, and engagement history.
Automate email marketing
Mailchimp offers behavior-based email automation, with:
- 50+ automation triggers
- Automated flows based on actions like sign-ups, purchases, or engagement
- Scheduled and event-driven emails
This allows you to send emails at the right moment without manual work.
Segment audiences for targeted campaigns
Mailchimp includes advanced segmentation, especially on paid plans:
- Filters based on behavior, activity, and predicted outcomes
- Predictive segmentation for identifying users likely to purchase or churn
- Targeted messaging to specific audience segments
Segmentation is a core feature for improving relevance and performance.
Use AI to assist with content creation
Mailchimp includes AI-powered tools such as:
- AI-generated subject lines and body copy
- Draft email creation with human review and editing
- AI-driven product recommendations for e-commerce
These tools are meant to speed up creation, not replace review.
Track and analyze performance
Mailchimp provides reporting and analytics, including:
- Campaign performance dashboards
- Open and click tracking
- A/B and multivariate testing
- Benchmarking and performance comparisons
This helps you understand what’s working and optimize future campaigns.
Integrate with other tools
Mailchimp supports 300+ integrations, allowing you to:
- Connect e-commerce platforms
- Sync CRM and customer data
- Centralize marketing activities in one platform
It positions itself as a “single source of truth” for marketing data.
How to verify emails in Mailchimp: 5 steps
Mailchimp does a solid job with sending and automation, but it does not truly verify email addresses. That’s where Bouncer comes in.
By integrating Bouncer with Mailchimp, you can clean your list before sending and protect your deliverability.
Here’s how the process works, step by step.
Step 1: Connect Mailchimp to Bouncer
Start by logging into your Bouncer account. Go to Verify List and choose Mailchimp from the integrations tab.
The connection is quick and doesn’t require technical setup. Once connected, Bouncer can securely access your Mailchimp audiences for verification.
Why this matters: you avoid manual exports and imports later.
Step 2: Import your Mailchimp audience for verification
Select the Mailchimp list you want to verify. This can be your full audience or a specific segment.
Bouncer immediately starts scanning the list for:
- Invalid email addresses
- Undeliverable domains
- Disposable and temporary emails
- Risky addresses that can cause bounces
Everything happens automatically in the background.
Step 3: Review verification results
Once verification is complete, Bouncer shows clear results for each address.
You’ll see which emails are:
- Safe to send
- Invalid
- Risky or disposable
This gives you full visibility before anything goes back to Mailchimp. No guessing. No blind sending.
Step 4: Export the cleaned list back to Mailchimp
With one click, export the verified results back to Mailchimp.
Bouncer sends tags and statuses directly into your Mailchimp audience. This makes it easy to:
- Exclude bad addresses from campaigns
- Create segments based on verification status
- Keep risky emails out of future sends
No CSV files. No copy-paste work.
Step 5: Send campaigns with confidence
Now you’re ready to send.
With a verified list:
- Bounce rates drop
- Deliverability improves
- Sender reputation stays healthy
- Opens and clicks become more reliable
Your Mailchimp campaigns go to real inboxes, not dead addresses.
What exactly does the Bouncer integration do?
Bouncer identifies undeliverable and risky email addresses among your Mailchimp contacts and lets you export the clean data back to Mailchimp, helping you send all of your future emails to a clean list of email contacts.
It starts with a basic email syntax check for invalid email addresses, then it runs a background on spam traps and outdated emails. Each time, you get a valid email address that you can confidently reach out to people and get a great return on investment from your emails.
Our Bouncer integration improves your email campaign deliverability and engagement rates as well, for all of your email marketing campaigns, regardless of the volume of emails you send.
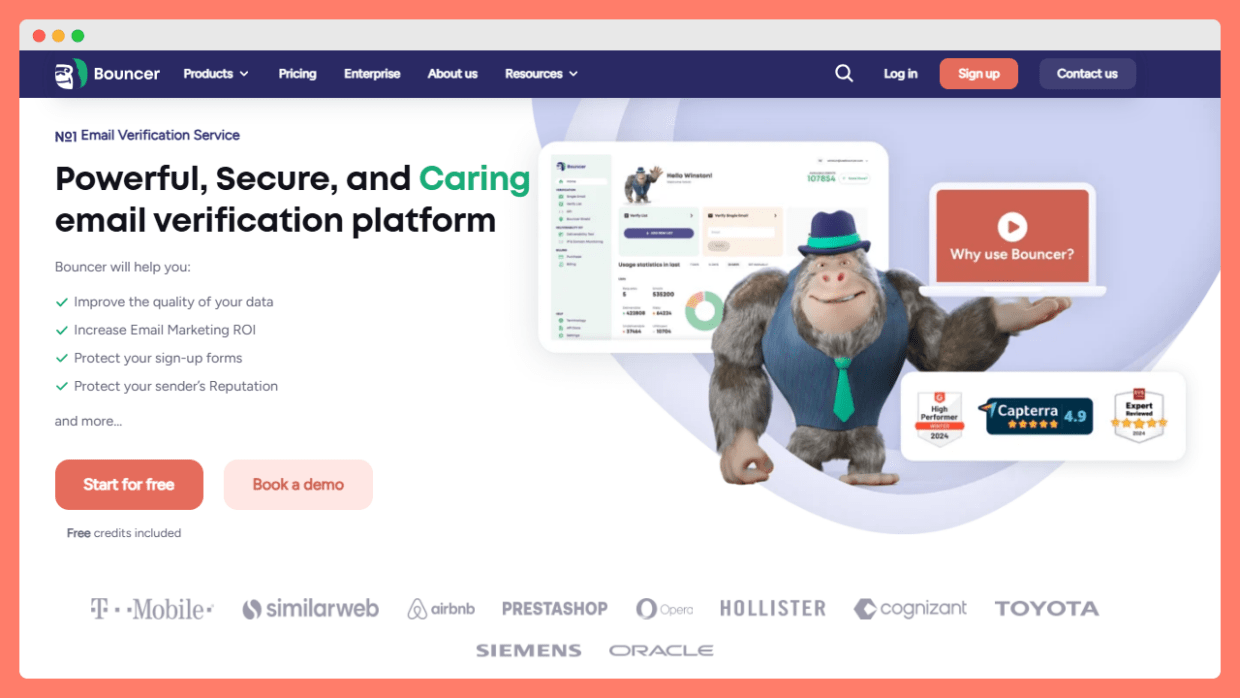
It is one of the speediest email verification tools that gets your emails verified in no time, very precisely (99.5% accuracy). On top of that, Bouncer verifies email addresses hosted by different email service providers, even deep catchalls.
📰 See the ultimate ranking of verification tools.
And you don’t have to even have the IT expertise to connect it to the Mailchimp platform. They integrate seamlessly and anyone can do bulk email verification in just a few clicks. Skip all the email addresses hassle and send out email newsletters and sales emails with confidence.
How to integrate Bouncer with Mailchimp?
You have two options to connect your Mailchimp account with Bouncer’s email verification software solution:
- by logging in and then using Mailchimp credentials
- or by using your API Key from Mailchimp
To get the key, log in to your Mailchimp account, choose the “Account” tab, select the “Extras” tab, click the “API keys,” and then click the “Create A Key.” You will get the API key needed to integrate with Bouncer.
No matter the volume of mail you send out, Bouncer will help you build a connected audience and bypass the spam filters.
Why it’s worth verifying both your email list and the domain?
Verifying your domain is an important part, but don’t forget about validating your email list as well. Why? 👇🏻
#1 Verifying your email list clears out any outdated or incorrect addresses and reduces the chance of emails bouncing back. When you verify your domain, it boosts your credibility, and you won’t be labeled as spam. So it’s a power combo for staying out of junk folders and getting clean lists of email contacts, without invalid email addresses.
If you want your email content to break it through the spam folder and have effective email campaigns, having a list of verified emails is the basic pre-requirement. By removing duplicate email addresses, fake emails, email address typos and more, you can get proper email ROI, regardless of the email marketing platform you use.
#2 A clean email list helps reach out to people who might actually be interested in your content. Also, with a verified domain, you let email providers know that you’re trustworthy. Email senders who only send emails to an interested audience have a more guaranteed path to email success.
#3 Keeping your email list and domain in check, you deliver a better user experience for your recipients. They receive relevant emails from a recognized source. And it may lead to more positive interactions.
#4 In the long run, maintaining a verified list and domain can save you money. Fewer bounced emails = fewer wasted resources, and an authenticated domain contributes to higher open rates. It’ll make your emails more effective.
So why wait? Verify email addresses with Bouncer – and our email verification integration.
Conclusion
Both Bouncer and Mailchimp make sure that the messages you send end up in an intended inbox, but they care about two different aspects. Bouncer makes sure your email list is in a tip-toe condition, while Mailchimp verifies your domain.
Bouncer integrates with Mailchimp. You can get those two tools connected and have your list shining right away.
Connect Bouncer to Mailchimp and get emails verified today! Don’t have a Bouncer account yet?
Sign in to validate 100 emails for free.
